
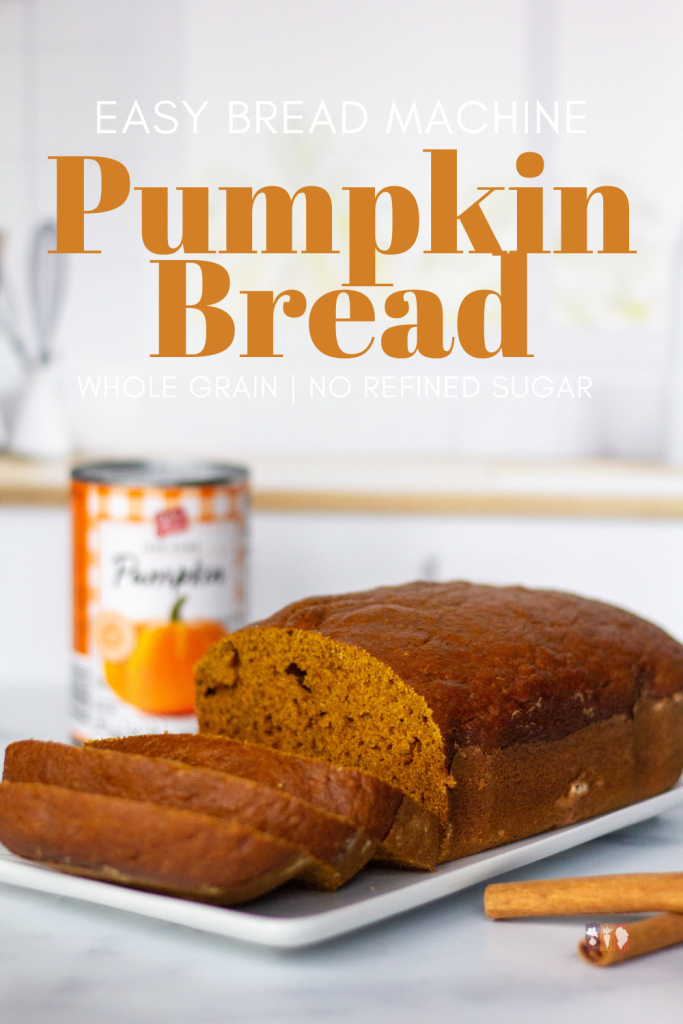
It's pumpkin season, and what better way to enjoy fresh or canned pumpkin than with an easy bread machine pumpkin bread? This homemade pumpkin bread can be thrown together in just minutes, and then the bread machine does the rest.
For this recipe, I use half whole wheat flour and half all purpose flour, but feel free to use all of either one. Also, there's no refined sugar in this recipe; instead, honey sweetens this loaf! This is a perfect breakfast or snack for the whole family and can easily be frozen to use later!
This post may contain affiliate links, which simply means I may earn a commission off of links at no extra cost to you. Thank you for supporting my site!
Bread Machine Quick Breads
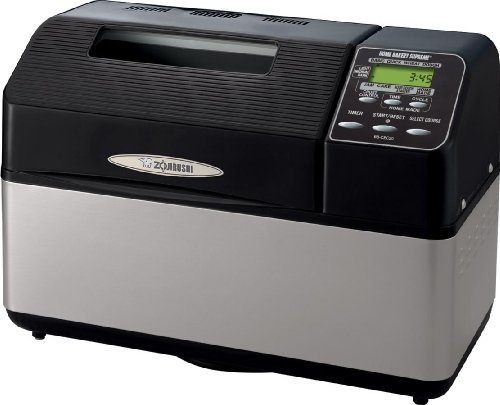
If you're new to making quick breads in a bread machine, or new to bread machine baking in general, here are some helpful tips to get you started. I personally use a Zojirushi Supreme, which is a work horse of a bread machine. While it priced on the higher end, they are built to last. I've had my machine for 14 years now, and it's still going strong! It's perfect for
Here are some helpful tips before you make this pumpkin bread machine recipe:
Sure! Here are four concise tips for making quick bread in a bread machine:
- Use the Correct Setting or Cycle: Choose the quick bread cycle or quick cycle option for best results. Check your machine's instructions for the specific cycle to use for quick bread. My machine has a custom time for quick breads.
- Wet Ingredients First: Bread machine recipes almost always call for wet ingredients in the bottom of the pan and dry ingredients on top. This is important for the mixing process.
- Check for Doneness: Use a toothpick to test if the bread is cooked through, as quick breads bake faster.
- Cool Properly: Remove from the pan and cool on a wire rack to prevent sogginess.
Ingredients for Bread Machine Pumpkin Bread
Here's what you'll need to make this bread maker pumpkin bread! This is for my Zojirushi, which makes a 2-lb loaf. If your machine is smaller, try halving this recipe or cutting the ingredients by ¼.
- 3 Large Eggs
- ¼ cup unsalted butter, melted (good quality coconut oil or olive oil could be substituted)
- 1 cup pumpkin puree (make your own pumpkin puree here)
- ¾ cup honey (I like this raw honey from Azure Standard)
- 1 cup Whole Wheat Flour
- 1 cup All Purpose Flour
- 2 teaspoon baking powder
- 1 teaspoon baking soda
- ¼ teaspoon salt
- 2 teaspoon pumpkin pie spice (make your own pumpkin pie spice here)
- ¼ cup pumpkin seeds, shelled (optional for the top)
Be sure to check out the substitution list at the bottom of the post, as well as the printable recipe card!
How to make Pumpkin Bread in the Bread Machine
- Begin by setting up your bread machine and making sure the bread machine pan is in place as well as the kneading paddle or paddles.
- Add the liquid ingredients to the pan: eggs, melted butter, pumpkin puree (not pumpkin pie filling), and honey.
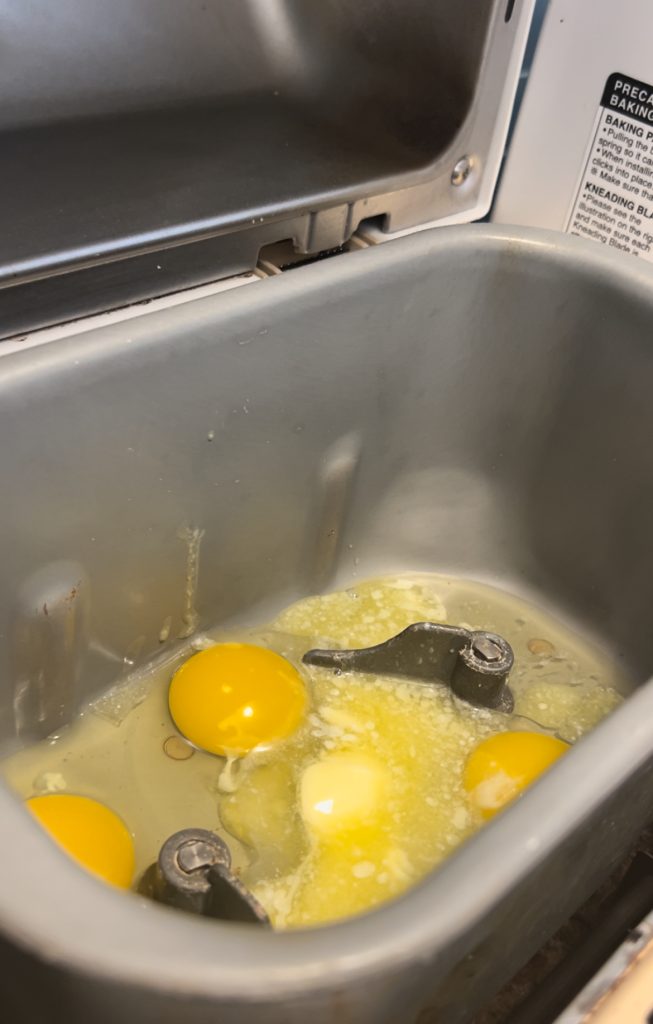
- Next, add the dry ingredients to the pan in the order they are listed from whole wheat flour to the pumpkin pie spice. Do NOT add the pumpkin seeds at this point.
- Set your machine on the quick bread cycle, or refer to your machine's instruction manual for their specified times for quick bread. Begin cycle.
- Check your machine once it's in the mixing part of the cycle and use a rubber spatula to scrape the sides of the bread pan for excess flour.
- Once your bread begins baking, sprinkle pumpkin seeds on top of the loaf. (optional)
- Once the machine is finished, unplug machine and use oven mitts to remove loaf pan from the bread machine.
- Allow to cool for 5 minutes in the pan, then use a non-metal knife or spreader to run along the sides of the baking pan. Turn pumpkin loaf out onto a wire cooling rack and allow to cool for 10 minutes before slicing.
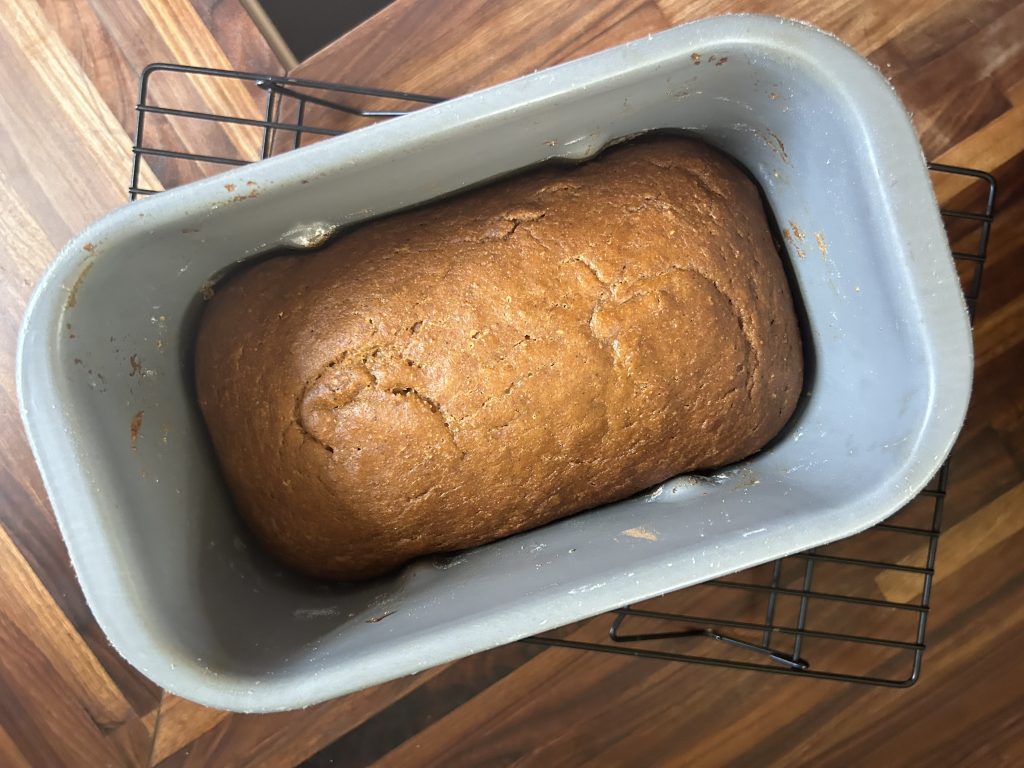
- Cool completely before storing.
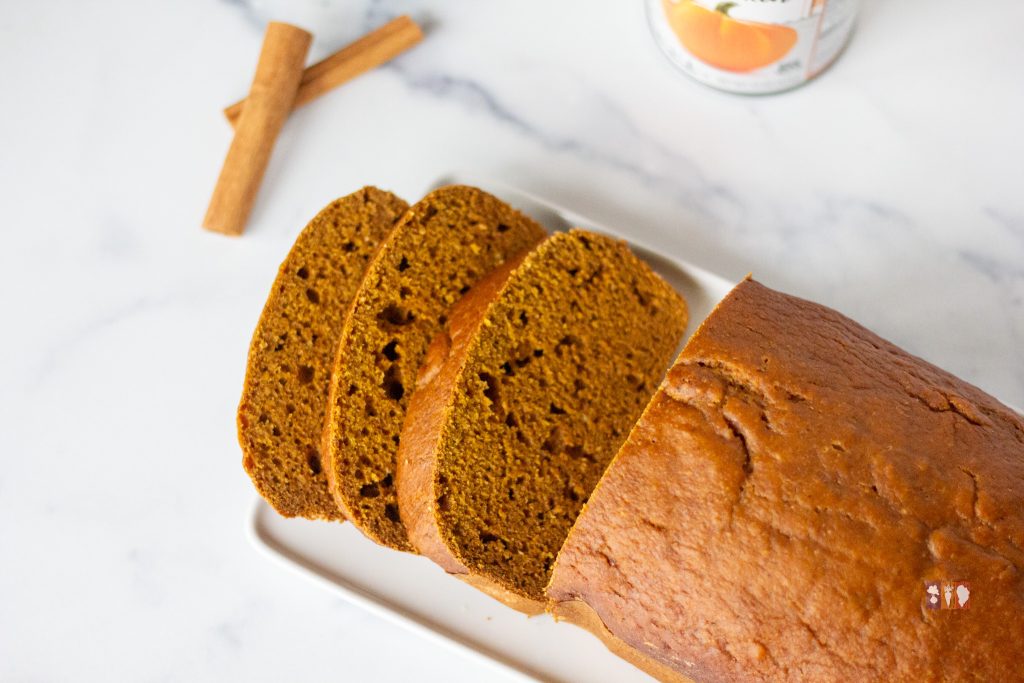
How to Store Pumpkin Bread
To store fresh pumpkin bread and keep it moist and flavorful, follow these steps:
- Cool Completely: Allow the bread to cool completely on a wire rack before storing. This prevents condensation from making it soggy.
- Wrap Tightly: Wrap the cooled pumpkin bread in plastic wrap or beeswax wrap. This helps retain moisture.
- Use an Airtight Container: For extra protection, place the wrapped bread in an airtight container or a resealable plastic bag.
- Refrigerate or Freeze: Short-term (up to a week): Store in a cool, dry place or in the refrigerator. Long-term (up to 3 months): Freeze the wrapped bread. Thaw at room temperature when ready to enjoy.
- Slice Before Freezing: If you plan to freeze it, consider slicing the bread first. This allows you to take out only what you need without having to thaw the entire loaf.
Pumpkin Bread Substitutions
Don't have all of the ingredients listed above? No worries. Here are some common substitutions for this recipe.
- Use all whole wheat or all purpose flour instead of half and half. An entirely whole wheat loaf will be a bit more dense.
- Substitute maple syrup for the honey or use sugar as a swap.
- Add in chocolate chips once the cycle has begun. (My machine beeps when it's time for add-ins.)
- Top the loaf with walnuts instead of pumpkin seeds.
Want more bread machine or whole grain recipes? Be sure to sign up for my newsletter which brings you a weekly email with gardening tips and a fresh recipe. Click the link to the right to sign up.
Here are more bread machine and whole grain recipes to enjoy in the mean time!
- Whole Wheat Pumpkin Spice Bread: This recipe is 100% whole wheat with a sweet crunchy topping to make this bread almost seem like dessert. Enjoy it anytime of year!
- Honey Whole Wheat Bread Machine Recipe: Make a delicious and soft loaf of 100% whole wheat bread with this easy bread machine recipe. Sweetened with honey, this loaf makes the perfect sandwiches and is easy to store and freeze for use later.
- Whole Grain Chocolate Chip Pumpkin Muffins: Want pumpkin bread flavor but without the whole loaf? These pumpkin muffins are a staple in my house, and they're easy to freeze for grab and go breakfasts or snacks.
Easy Bread Machine Pumpkin Bread

Looking for the perfect fall treat? Try our easy bread machine pumpkin bread recipe - it's quick, tasty, and full of warm pumpkin flavors. Use half whole wheat and half all purpose for whole grain goodness in this easy pumpkin bread.
Ingredients
- 3 Large Eggs
- ¼ cup unsalted butter, melted (good quality coconut oil or olive oil could be substituted)
- 1 cup pumpkin puree (make your own pumpkin puree here)
- ¾ cup honey (I like this raw honey from Azure Standard)
- 1 cup Whole Wheat Flour
- 1 cup All Purpose Flour
- 2 teaspoon baking powder
- 1 teaspoon baking soda
- ¼ teaspoon salt
- 2 teaspoon pumpkin pie spice (make your own pumpkin pie spice here)
- ¼ cup pumpkin seeds, shelled (optional for the top)
Instructions
- Begin by setting up your bread machine and making sure the bread machine pan is in place as well as the kneading paddle or paddles.
- Add the liquid ingredients to the pan: eggs, melted butter, pumpkin puree (not pumpkin pie filling), and honey.
- Next, add the dry ingredients to the pan in the order they are listed from whole wheat flour to the pumpkin pie spice. Do NOT add the pumpkin seeds at this point.
- Set your machine on the quick bread cycle, or refer to your machine's instruction manual for their specified times for quick bread. Begin cycle.
- Check your machine once it's in the mixing part of the cycle and use a rubber spatula to scrape the sides of the bread pan for excess flour.
- Once your bread begins baking, sprinkle pumpkin seeds on top of the loaf. (optional)
- Once the machine is finished, unplug machine and use oven mitts to remove loaf pan from the bread machine.
- Allow to cool for 5 minutes in the pan, then use a non-metal knife or spreader to run along the sides of the baking pan. Turn pumpkin loaf out onto a wire cooling rack and allow to cool for 10 minutes before slicing.
- Cool completely before storing.
Notes
To store fresh pumpkin bread and keep it moist and flavorful, follow these steps:
- Cool Completely: Allow the bread to cool completely on a wire rack before storing. This prevents condensation from making it soggy.
- Wrap Tightly: Wrap the cooled pumpkin bread in plastic wrap or beeswax wrap. This helps retain moisture.
- Use an Airtight Container: For extra protection, place the wrapped bread in an airtight container or a resealable plastic bag.
- Refrigerate or Freeze: Short-term (up to a week): Store in a cool, dry place or in the refrigerator. Long-term (up to 3 months): Freeze the wrapped bread. Thaw at room temperature when ready to enjoy.
- Slice Before Freezing: If you plan to freeze it, consider slicing the bread first. This allows you to take out only what you need without having to thaw the entire loaf.
Recommended Products
As an Amazon Associate and member of other affiliate programs, I earn from qualifying purchases with no added cost to you. Thank you!
Nutrition Information:
Yield:
12Serving Size:
1Amount Per Serving: Calories: 202Total Fat: 6gSaturated Fat: 3gTrans Fat: 0gUnsaturated Fat: 2gCholesterol: 57mgSodium: 251mgCarbohydrates: 35gFiber: 2gSugar: 18gProtein: 5g


