

Want to create some homemade Easter decorations? Try these DIY Mod Podge Easter Eggs for decorating an easter tree or to have in a centerpiece. These easy and fun easter eggs use Mod Podge, scrap fabric, and a silver Sharpie to create a fun spring or Easter decoration that will last for years!
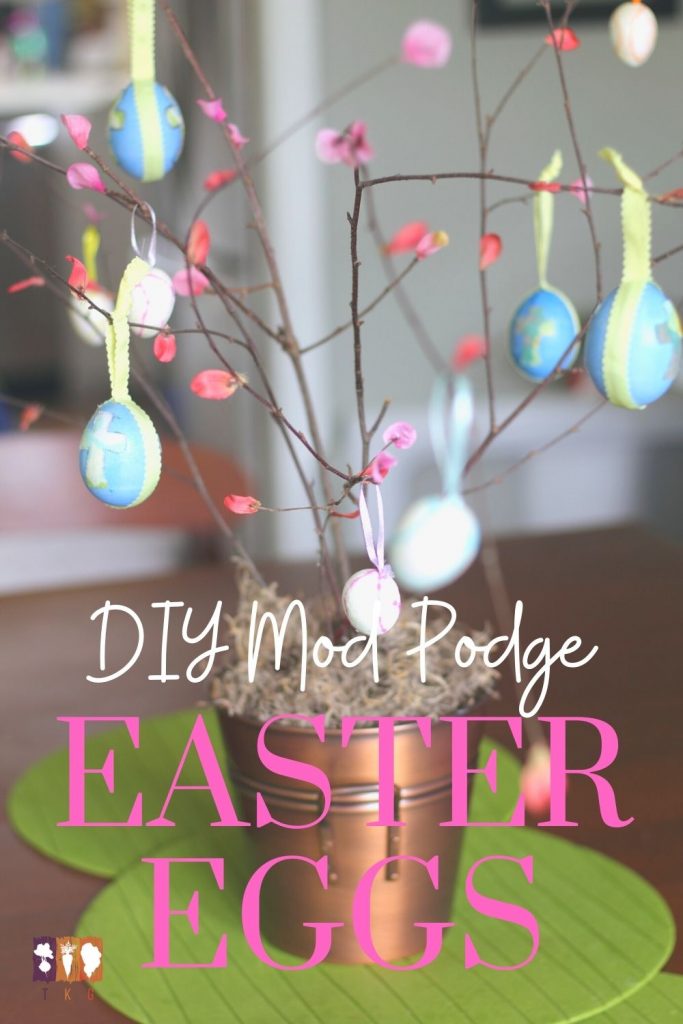
Mod Podge Easter Eggs
Easter arrives in less than a month, and it is one of my favorite holidays. The blooms have come to life outside and the garden season officially begins... Easter ushers in new life! This year has been especially hard to wait to work in the garden until Easter is closer.
To keep myself from thinking about sowing early seeds, I've been finding plenty of projects around the house. I've also joined up with a group of wonderful bloggers for seasonal challenges, and this is my first one! A big thanks to Susan from Momcrieff who led this month's challenge. Our projects needed to include Mod Podge and scrap fabric. Thankfully, these are always handy in this house.
This post may contain affiliate links, which simply means I may earn a commission off of links at no extra cost to you. Thank you for supporting my site!
Using Fresh Eggs in Decor
Growing up, before plastic eggs made Easter decor cheap and easy, my mom had beautiful fabric-covered eggs. She would decorate branches placed in a vase with these special eggs. I would like to say I restrained myself from playing with them, but I know several of those eggs were broken on my account.
My first idea for this spring craft was to cover real eggs in fabric. While plastic eggs are clearly easy to access, they tend to pop open an inconvenient times. I didn't want to deal with that mid-project. Using real eggs let me use something I already had and would normally toss in the compost. Check out my tutorial for blowing out eggs to try it yourself!
Covering the entire egg in fabric was a fail. Even though the fabric was thin, there were simply too many tucks and puckers on the oval eggs. With tissue paper, covering the eggs would have been a breeze, but since I needed to use scrap fabric, I changed my plan.
I went with Easter-themed shapes on my eggs, cut from the scrap fabric. And since the fabric was no longer covering the entire egg, I colored my cleaned out eggs before applying the fabric. (I had an old box of Easter egg dye laying around, and it was finally put to use!) If you're wanting to go the natural route for color on your eggs, here's a page you'll want to visit.
DIY Fabric Easter Egg Materials
How to Mod Podge Easter Eggs
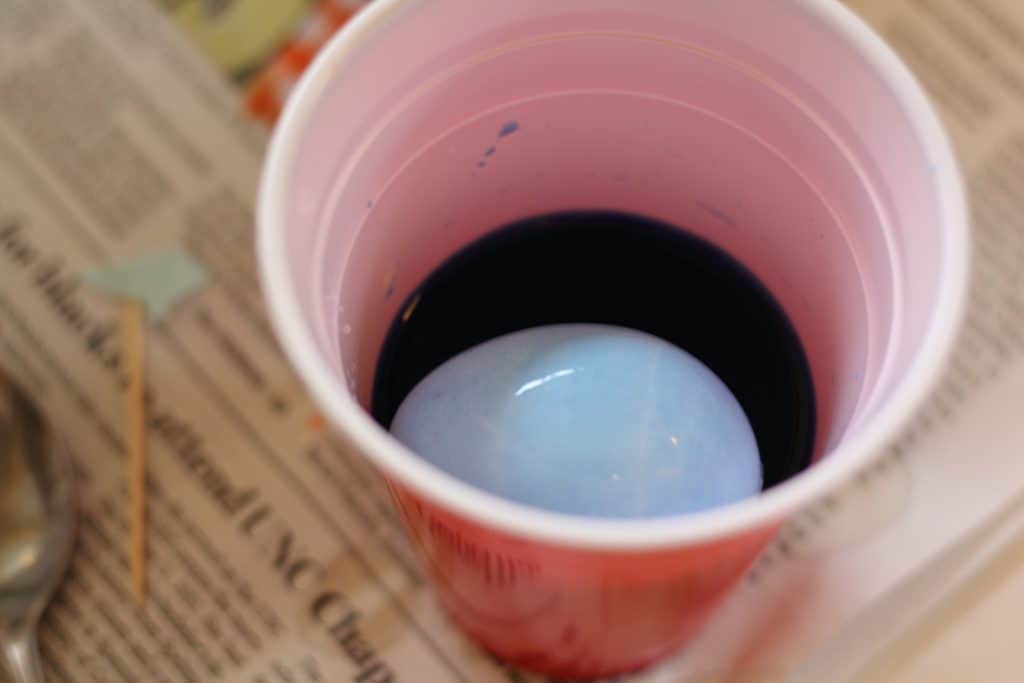
- Clean out your eggs (see tutorial link above). Give them time to dry and then dye them any color you like. (Be sure the color you choose coordinates with your fabric choice.
2. While eggs are drying, decide what shape you'd like on your egg. I chose crosses for all of my eggs, because I wanted them the same. (You can easily create a stencil for your image by printing a small Easter image- cross, dove, egg, heart, etc. onto card stock and cutting it out.) Turn your fabric right-side down and trace or freehand draw your image onto the fabric. You can use a fabric pen or a pencil. Cut out your shapes. 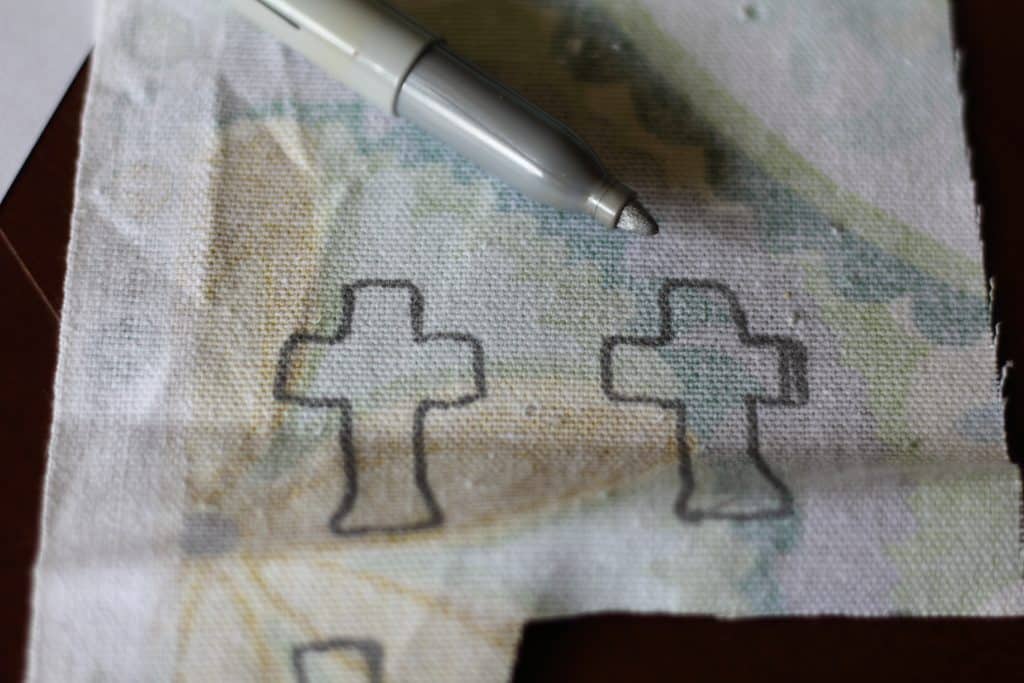
3. Once your shapes are ready, decide where on your egg you'd like them to go. Then using a paint brush, apply the Mod Podge to the general area. Mod Podge is very forgiving, so you can brush it on an area larger than your image and still be just fine (see below). Now take your fabric image and place it on the wet Mod Podge. Use your fingers to smooth the fabric. Take your paint brush once again and paint Mod Podge on top of your fabric. Be sure to cover all of the fabric, especially the edges. 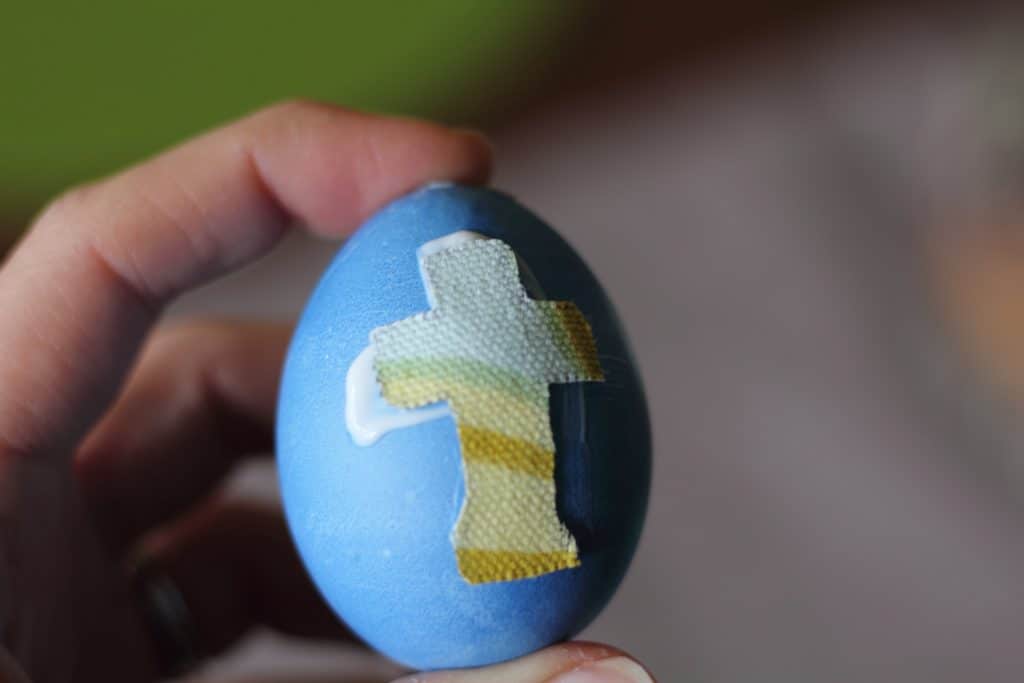
4. Once your fabric has been Mod Podged onto the eggs, place them somewhere to dry where they can remain upright. I used an upside down egg carton. Allow the eggs to dry 20-30 minutes. Now you're ready to attach the ribbon.
5. To attach the ribbon, I used a hot glue gun because I wanted a secure hold. Measure out a length of thin ribbon 10-12 inches long. Wrap the ribbon lengthwise around the egg, gathering the extra at the top. Be sure the extra lengths at the top are even; adjust as needed. Once you are confident your ribbon is even, begin gluing the ribbon into place a few inches at a time. (Hot glue dries very quickly!) 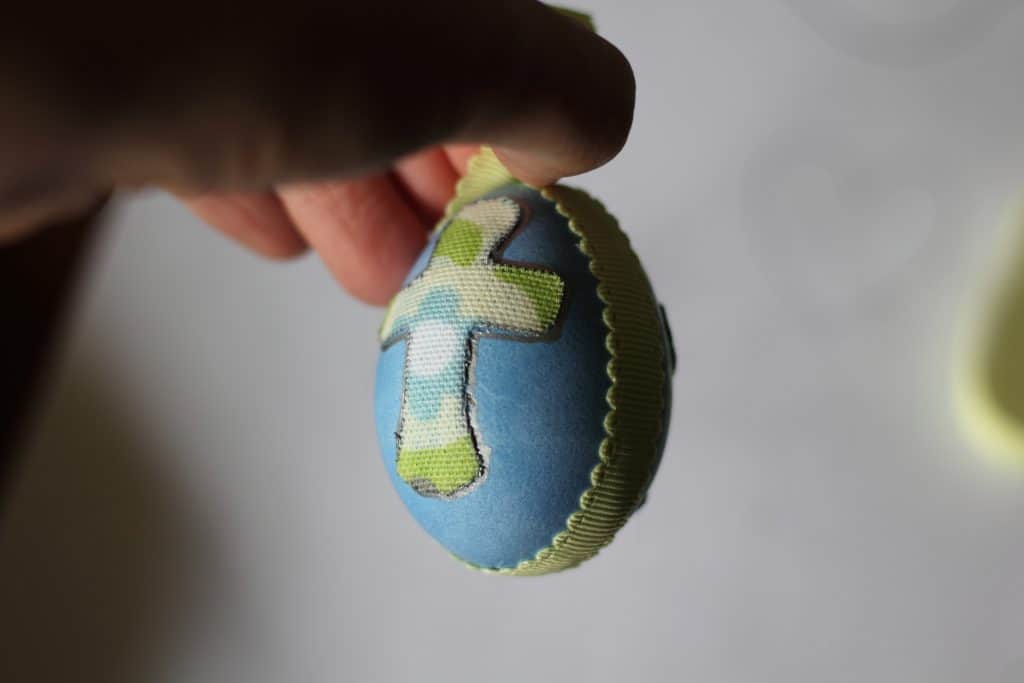
6. If needed, dab a final bit of glue at the top to be sure the ribbon meets. Now take the lengths of unglued ribbon, and simply tie a simple knot at the very end. This will create a way for your egg to hang. If you don't like the excess ribbon beyond your knot, feel free to trim it back. 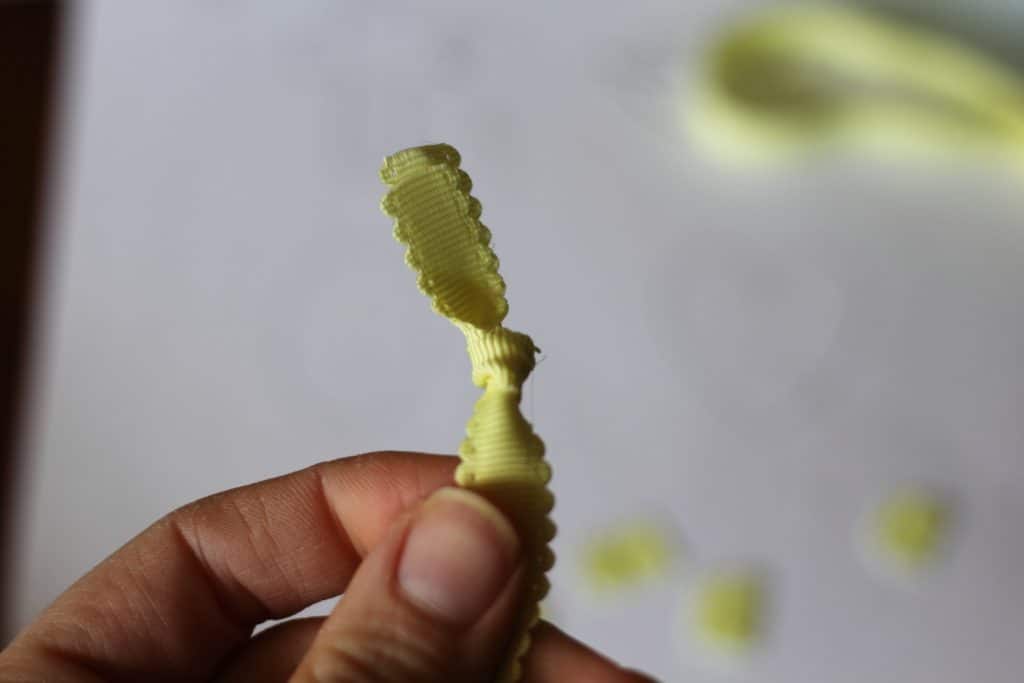
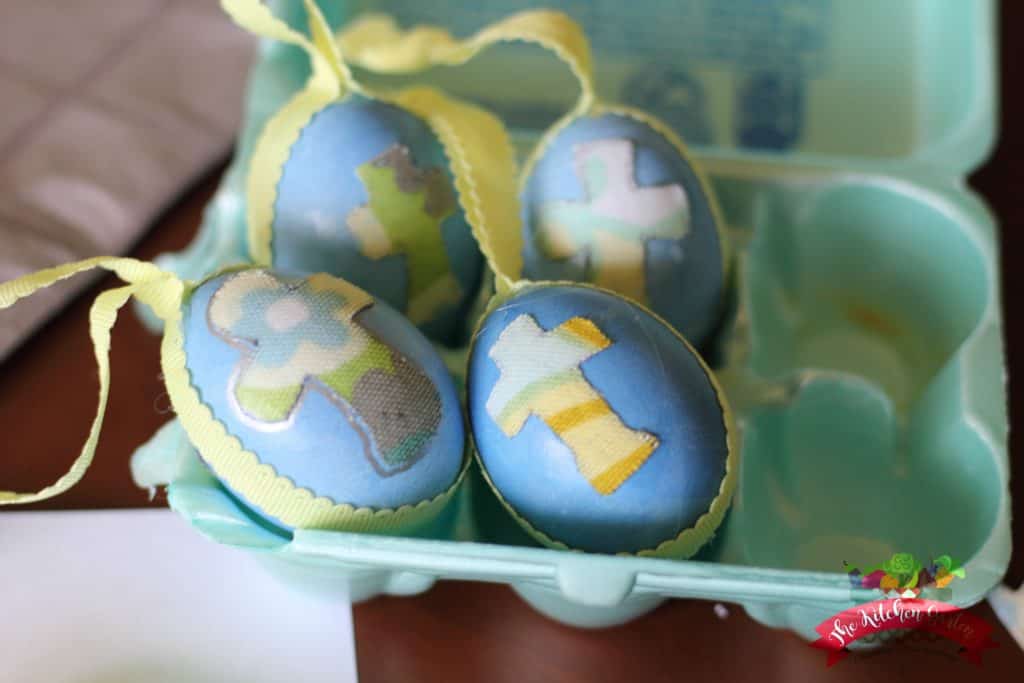
Your eggs are now ready to use! Decorate with them to your heart's content. Ours will hang on a little Easter tree, just like my mom had all those years ago. These eggs should last for years and can be stored back in the egg carton you purchased them in (if you used real eggs). So pack them up carefully, and pull them out again next year!
More Mod Podge Ideas
I'd love to know if you remember using real eggs to decorate with for Easter! It's definitely not something you see very often now. And Mod Podge can take any ordinary items and allow you to create something unique!
Be sure to check out the other ladies on this Challenge to see what they created with Mod Podge and scrap fabric. Thanks for stopping by the Garten!
Easy Mod Podge Easter Eggs

Use real eggs, scrap fabric, and Mod Podge to create these lovely Easter eggs! They're perfect for natural spring decor and using what you have on hand.
Materials
- 6 eggs (cleaned out)
- Egg Dye
- Mod Podge
- Paint brush
- Scrap fabric
- Ribbon
Tools
- Glue Gun
Instructions
- Clean out your eggs (see tutorial link above). Give them time to dry and then dye them any color you like. (Be sure the color you choose coordinates with your fabric choice.
- While eggs are drying, decide what shape you'd like on your egg. I chose crosses for all of my eggs, because I wanted them the same. (You can easily create a stencil for your image by printing a small Easter image- cross, dove, egg, heart, etc. onto card stock and cutting it out.) Turn your fabric right-side down and trace or freehand draw your image onto the fabric. You can use a fabric pen or a pencil. Cut out your shapes.
- Once your shapes are ready, decide where on your egg you'd like them to go. Then using a paint brush, apply the Mod Podge to the general area. Mod Podge is very forgiving, so you can brush it on an area larger than your image and still be just fine (see below). Now take your fabric image and place it on the wet Mod Podge. Use your fingers to smooth the fabric. Take your paint brush once again and paint Mod Podge on top of your fabric. Be sure to cover all of the fabric, especially the edges.
- Once your fabric has been Mod Podged onto the eggs, place them somewhere to dry where they can remain upright. I used an upside down egg carton. Allow the eggs to dry 20-30 minutes. Now you're ready to attach the ribbon.
- To attach the ribbon, I used a hot glue gun because I wanted a secure hold. Measure out a length of thin ribbon 10-12 inches long. Wrap the ribbon lengthwise around the egg, gathering the extra at the top. Be sure the extra lengths at the top are even; adjust as needed. Once you are confident your ribbon is even, begin gluing the ribbon into place a few inches at a time. (Hot glue dries very quickly!)
- If needed, dab a final bit of glue at the top to be sure the ribbon meets. Now take the lengths of unglued ribbon, and simply tie a simple knot at the very end. This will create a way for your egg to hang. If you don't like the excess ribbon beyond your knot, feel free to trim it back.
Recommended Products
As an Amazon Associate and member of other affiliate programs, I earn from qualifying purchases with no added cost to you. Thank you!



17 Comments